
Thursday, May 31, 2012
Wednesday, May 30, 2012
iFashion Winter essentials
WINTER ESSENTIALS

Shopping for timeless pieces is easy.
The best way to update your wardrobe is by shopping for timeless pieces that can serve you well now – and next season.
And, Woolworths’ winter wardrobe essentials are on trend. From skinny jeans to brightly coloured leggings, classic shifts, blazers and riding boots – not forgetting gloves and scarves – it’s the smart way to update your winter wardrobe.http://www.ifashion.co.za/index.php?option=com_content&view=article&id=4451:winter-essentials&catid=163&Itemid=115#.T8XOvUXwUT0.twitter

Tuesday, May 29, 2012
Ray-Ban Folding Aviator
Oh My Goodness.... I think I spent almost a minute just staring at these. The first thing that crossed my mind was "Ooh, they look so pretty". Yes it's girly and doesn't really describe them, but they are so darn pretty though. They are available at Sunglass Hut


Just look at them :D
Monday, May 28, 2012
Simple things of life...
I got this from one of the tumblr accounts.
It's just something I'm sharing cause sometimes I feel like I become restricted to act a certain way when around the hubby - when all I want is to be goofy.
This for me explains what that goofy feeling is...

;)
Thursday, May 24, 2012

Tuesday, May 22, 2012
Like for Spring/Summer
Easy DIY Lace Sleeve Tank Top

Years ago I used to make little lingerie/pajama sets of tanks and underwear with ruffles - you can see some of them here, along with a DIY for the ruffle boy shorts & bikinis... but I always used ribbed wife-beater style tank tops rather than spaghetti strap tanks. I've had this pretty vintage lace trim I found at a thrift shop lying around for ages. I pulled the $3 tag off just the other day as I was prepping for this DIY. I thought it would really be pretty with this blush tank and I love the turnout. This is a very simple DIY.
What You'll Need...

* Cotton spaghetti strap tank top
* Lace trim about 6inches wide
* Needle/Thread/Pins/Scissors
Steps...

* Beginning about an inch or two from the end of your lace trim, pin the front of the lace down and along the strap of your tank. It's better not to cut anything prior.

* Hand stitch or machine sew your lace to your strap.

* Cut the excess lace trim.

* Overlap one edge of lace over the other then hand stitch your ends together creating a circle {not flat as shown above}
* The lace sleeves will stick straight out when lying flat. You may choose to pinch the underarms together and add a few stitches or create a dart of sorts, but when you wear the top, your arms will do this naturally.
Voila!


Have Fun!
Have Fun!
Monday, May 21, 2012

Friday, May 18, 2012
Stuff You should know by 30

By pursebuzz
I saw this on the huffington post and thought it was a great read. What do you think of these?
In 1997, Glamour magazine published a story titled “30 Things Every Woman Should Have and Should Know by the Time She’s 30.” The list, written by Pamela Redmond Satran, was so popular that women started emailing it around, misattributing it to various female luminaries including Maya Angelou and Hillary Clinton. Noting what a phenomenon it had become, the editors of Glamour created a book around it, featuring essays from (mostly) famous women on each of the items on the list. The book, released today, includes meditations from Katie Couric on work and love, Portia de Rossi on accepting your body, and one from the list’s original author, who is also a Huffington Post blogger, on how to live alone.Because the list still makes us so, so happy, we asked Glamour’s permission to reprint it here:By 30, you should have …1. One old boyfriend you can imagine going back to and one who reminds you of how far you’ve come.2. A decent piece of furniture not previously owned by anyone else in your family.3. Something perfect to wear if the employer or man of your dreams wants to see you in an hour.4. A purse, a suitcase, and an umbrella you’re not ashamed to be seen carrying.5. A youth you’re content to move beyond.6. A past juicy enough that you’re looking forward to retelling it in your old age.7. The realization that you are actually going to have an old age — and some money set aside to help fund it.8. An email address, a voice mailbox, and a bank account — all of which nobody has access to but you.9. A résumé that is not even the slightest bit padded.10. One friend who always makes you laugh and one who lets you cry.11. A set of screwdrivers, a cordless drill, and a black lace bra.12. Something ridiculously expensive that you bought for yourself, just because you deserve it.13. The belief that you deserve it.14. A skin-care regimen, an exercise routine, and a plan for dealing with those few other facets of life that don’t get better after 30.15. A solid start on a satisfying career, a satisfying relationship, and all those other facets of life that do get better.By 30, you should know …1. How to fall in love without losing yourself.2. How you feel about having kids.3. How to quit a job, break up with a man, and confront a friend without ruining the friendship.4. When to try harder and when to walk away.5. How to kiss in a way that communicates perfectly what you would and wouldn’t like to happen next.6. The names of the secretary of state, your great-grandmothers, and the best tailor in town.7. How to live alone, even if you don’t like to.8. Where to go — be it your best friend’s kitchen table or a yoga mat — when your soul needs soothing.9. That you can’t change the length of your legs, the width of your hips, or the nature of your parents.10. That your childhood may not have been perfect, but it’s over.11. What you would and wouldn’t do for money or love.12. That nobody gets away with smoking, drinking, doing drugs, or not flossing for very long.13. Who you can trust, who you can’t, and why you shouldn’t take it personally.14. Not to apologize for something that isn’t your fault.15. Why they say life begins at 30
Wednesday, May 16, 2012
Trey Songz - Heart Attack
I don't know if I've ever mentioned this before... I think on twitter or something, but I'm a huge Trey Songz fan *grin*. I think he and Kelly *Kelly Rowland for those that don't know* make the cutest couple ever :) - in the video.
I love the essence of the song, but I just have the sense that maybe he shouldn't be screaming so much in it 0_o. Yes, he's portraying the feeling of a heartbreak *look at me trying to analyse the song* hehehe... but he just didn't need to scream so much.
Anyway... I love the video but I would need to listen to it some more for it to grow on me. First is the official video and then the making of...
Enjoy!
Tuesday, May 15, 2012
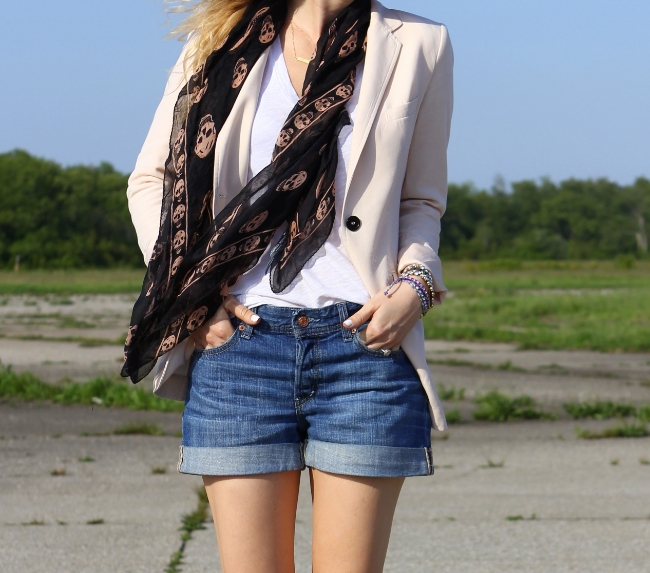
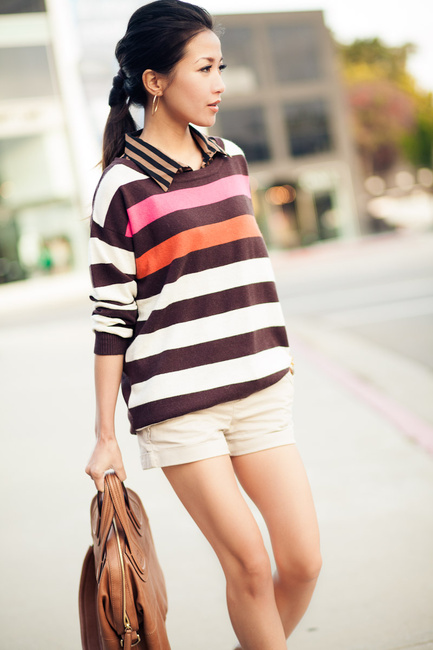
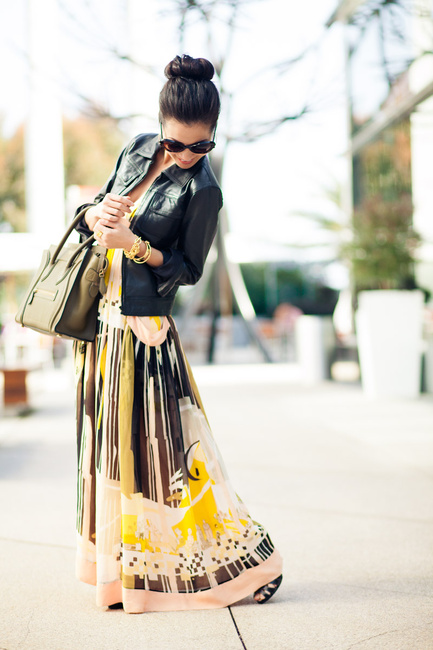
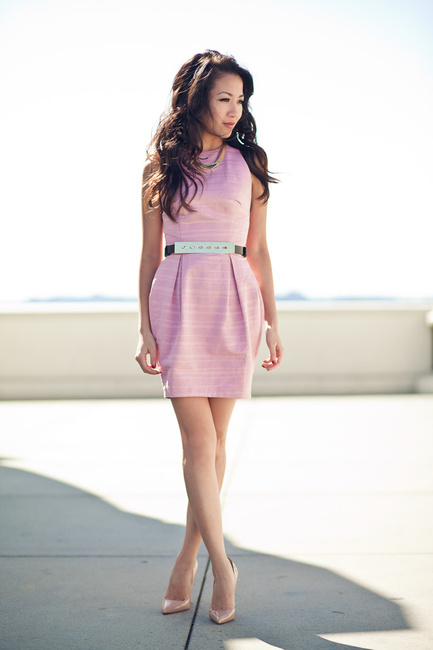
Looks I loved
Please allow me to warn you beforehand - This post is a little Wendy's Lookbook crazy. I had to stop myself from adding more of her on here. I just love this woman and how she styles her outfits...


Monday, May 14, 2012
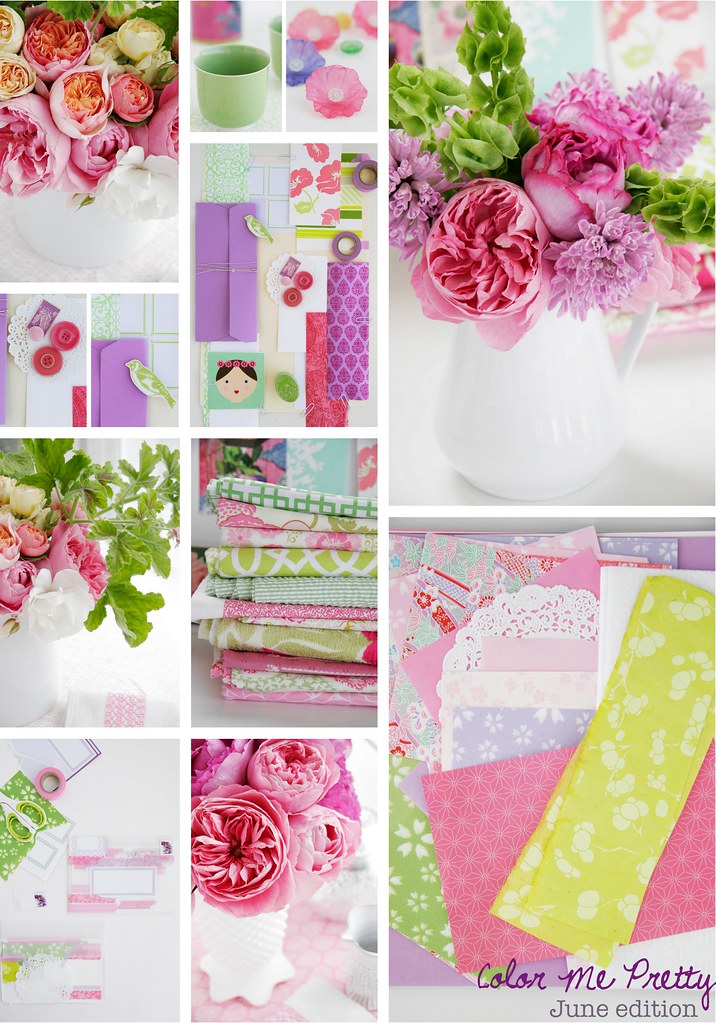
Flower power

A dedication to my grandmother... This was the first Mother's Day that we spent without her. I know she's looking down watching over us and smiling all the time :). I miss that smile so much.

She loved flowers, roses especially. So yeah... This is a dedication to her for Mother's day. Love you Ma...
 |
| We love you... |
Wednesday, May 9, 2012
Blog posts I loved : part 2
FROM DECOR8
I feel I've been neglecting my invitation making business lately - so this is just something to inspire me to go buy more material to increase my profile. I am currently planning on linking the business to this blog, just to incorporate everything in one central place. *watch the space*

Tuesday, May 8, 2012
Blog posts I loved : part 1
From the blonde salad
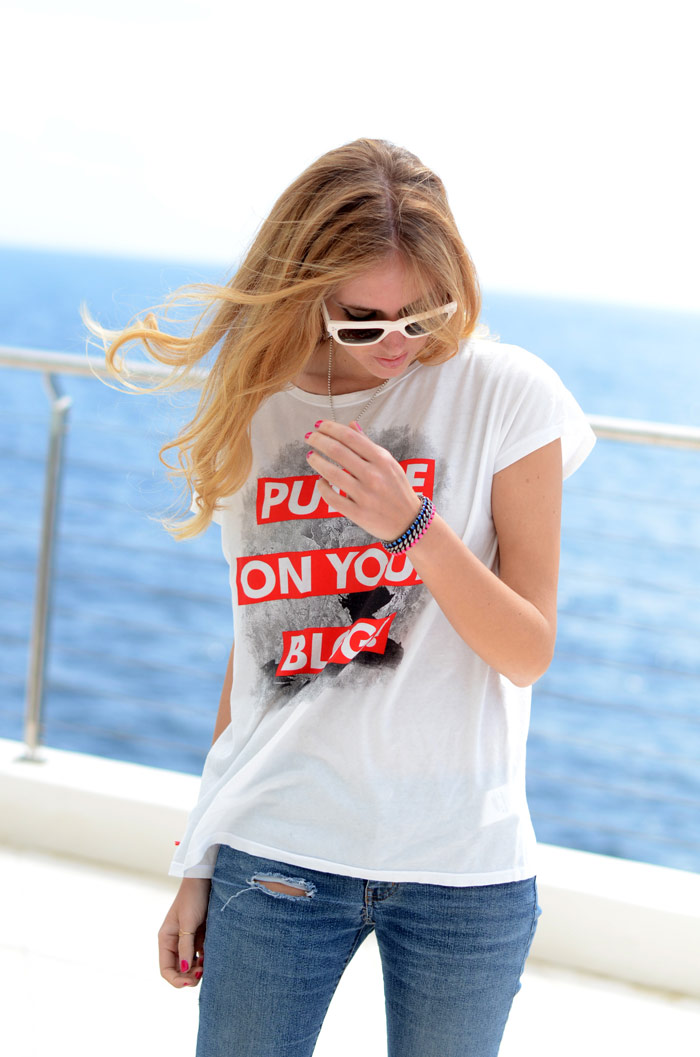
I love the t-shirt she's wearing here and the colours used for the place that they visited.
Monday, May 7, 2012
Inspiration
I love this idea. I think I want to make a bracelet similar to this - and try out the DIY project done here as well...

It's something different to display in your house ;)

Friday, May 4, 2012
Decor :: Part of a post
This is part of a post from Gal Meets glam.
I think I'm into black and white decor lately - it just works for me. There is a freshness about it and I just think throwing a hint of green into the mix just works out perfectly.

::The Viceroy Hotel::


Thursday, May 3, 2012
Bracelet Mania :: What's been keeping me busy
I found something to do over the time off :). I'm gonna try and create a few more of these and will be posting some pictures of how it all turned out... *crossing fingers* 2 didn't turn out so well :-\


DIY Macrame Bracelet
Posted by Erica on
Growing up by the beach in Southern California, the ability to knot a macrame bracelet was practically a right of passage. Although those days are long behind us, we’ve never forgotten the ever-so-simple square knot technique. This time, however, we’re replacing hemp and wooden beads for more updated elements like colorful nylon cord and glossy metal charms. Happy knotting!
You’ll need:
- 4 yards of 0.5mm chinese knotting cord
- a vermeil gold ring, connector, or charm
- an embroidery needle
- a pair of scissors
- flat nose pliers (optional)
- a lighter (optional)
Start by cutting the knotting cord into two 30 inch, two 20 inch and one 10 inch lengths. Fold the 20 inch piece in half, pull the loop through the ring, fold it over the ring, and pull the rest of the cord through the loop. Repeat the step on the other side of the ring. These strands will be anchored and remain stationary.
Center the 30 inch cord under the two middle strands. Fold the right cord over the middle strands and under the left cord. Pull the left cord under the right and middle strands and through the loop on the right side.
Pull tightly and slide the knot up to the top.
Finish the 2nd half of the square knot by folding the left cord over the middle strands and under the right cord. Pull the right cord under the left and middle strands and through the loop on the left side.
Pull tightly and repeat the steps – left, right, left, right . . . Continue knotting until the desired length is reached. Keep in mind that the clasp will take up approximately half an inch.
To finish the knots, thread one of the cords onto a needle and sew up the center of 3-4 knots along the backside. Pliers will help pull the needle through the tight knots.
Repeat the same step on the other cord.
After sewing up both knotting cords, trim away any excess. Save the scraps and melt the tips with a lighter to seal it for extra hold. Repeat the same exact step on the second half of the bracelet.
To make a sliding closure, shape the bracelet into a circle and overlap the middle strands. Use scraps to temporarily tie the cords together at each end.
Take the 10 inch cord and center it under the strands. Start tying square knots exactly the same way the bracelet was executed.
Stop at about half an inch and sew the knotting cords into the backside of the closure. Remove the temporary ties.
The two sets of middle strands are now the adjustable ties of the bracelet. Adjust to fit the wrist and tie each end into knots. Trim away any excess.
Your adjustable knotted bracelets are finished!! xx
(all images by HonestlyWTF)
Subscribe to:
Posts (Atom)